SWEETWATER SWIM STUDIO
  • Tour
  • About
  • Services
  • Videos
  • Product Partners
  • Clothing & Gear
  • Blog
  • Contact

Simply Faster! 

Welcome to my blog, Simply Faster, attempting to simplify the art of swimming faster!

There are dozens of ways to improve your swim. Unfortunately focusing on dozens of skills at once will likely leave you confused, frustrated and potentially not any faster.

Through this blog, I hope to share proven ways to become faster in the water, one concept at a time.


Above all else mentioned here, if you truly want to improve, it is critical to make time for the pool.  Show up, prepare and plan your pool time.  Nobody gets faster by skipping swims or jumping in without a method to the madness.

About the Author

The KISS Series, Keep it Simple & Swim (2nd KISS)

10/7/2022

0 Comments

 
Picture
Welcome to the KISS series!
KISS stands for Keep It Simple & Swim


Each workout will have just a few intentional drills to focus on technique and a main set that is easily adjustable for yardage or intensity.

I hope you enjoy this session, the 2nd KISS, video footage from our amazing Elite Endless Pool!


Each workout in the series, can be found on the SweetWater KISS Series Showcase on Vimeo, click here!

Watch: The 2nd KiSS  video workout here.

**Copy & paste and print the workout to bring to the pool**

Keep It Simple & Swim
SweetWater Swim Studio
2nd KISS Focus: Core Stability

Tools: Snorkel & Nose Clip / Pull Buoy or FINIS Axis Buoy / Pace Clock
Total: 1900yd (easily adjust yardage by + / - the # of 50s / 75s / 100s)

Start w/ Snorkel
6 x 50 1st KISS Drill Review
     1-3 Drill 25 / Swim 25 on EZ Interval
            Tag style catch up in power Y start / end position
            Focus on head stability, lead arm extension and stability
     4-6 Drill 25 / Swim 25 on EZ Interval
            3 / 2 / 1 Right Pulls into 3 / 2 / 1 Left Pulls start / end in PowerY position
            Focus lead arm stability and single sided rotation, take hips with you

4 x 50 Descend 50 times on EZ Interval
     1) Easy 2) Build 3) Build More 4 ) Strong

~~~~~ MAIN SET ~~~~~

2 x Thru
     Round #1 with Snorkel and Buoy
     Round #2 Buoy only

2 x 75s Change buoy placement each 25 High / Medium / Low :15 rest between 75s
     Engage Core and “Take Hips With You” Keep legs engaged with soft knees & long ankles, pigeon toe feet

4 x 100s as 50 Swim w/ Buoy / 50 Swim on Standard Interval
     Change buoy placement each first 50
      #1 100 as 50 Buoy High / 50 Swim
      #2 100 as 50 Buoy Medium / 50 Swim
      #3 100 as 50 Buoy Low / 50 Swim #4 100 as 100

Swim Strong and Connected w/ core and lead arm drive

~~~~~~~~~~~~~~~~~~~~~

2 x 75 Descend each 75, :20 rest between 75s
     1st 25 is easy, 2nd 25 is build, 3rd 25 is STRONG
     Use the speed work to feel tautness in quick core connection/rotation

50 FOR TIME *turnover * quick rotation * core connection * lead arm extension * kick *

2 x 50 Cool Down as 25 Choice Drill / 25 Swim


0 Comments

The KISS Series, Keep it Simple & Swim (1st KISS)

9/26/2022

0 Comments

 
Picture
Welcome to the KISS series!
KISS stands for Keep It Simple & Swim


Each workout will have just a few intentional drills to focus on technique and a main set that is easily adjustable for yardage or intensity. I hope you enjoy this session, the 1st KISS, video footage from our amazing Elite Endless Pool!

Each workout in the series, can be found on the SweetWater KISS Series Showcase on Vimeo, click here!

**Copy & paste and print the workout to bring to the pool**

Watch: The 1st Kiss (link to video workout here)
1st KISS Focus: Stability & Pace Changes
Head Position / Lead Arm Extension / Rotation

Tools: Snorkel & Nose Clip / Fins if desired / Pace Clock
Total: 1500yd (easily adjust yardage by + / - the # of 50s / 100s)

Start w/ Snorkel and fins if desired
2 x 50 Mindful Swimming as Drill 25 / Swim 25 on EZ Interval
Drill: Tag style catch up in power Y start / end position.
Focus on head stability, lead arm extension and stability through balanced rotation.

4 x 100 Descend by 100s on Standard Interval
Focus: Maintain head stability and lead arm extension through balanced rotation.
Each 100 is roughly :03-:05 faster than previous.
1st 100 is very very easy!

2 x 50 as Drill 25 / Swim 25 on EZ Interval, power Y start & end position
Drill: 3 / 2 / 1 Right Pulls, focus on left lead arm extension stability and right side rotation into 3 / 2 / 1 Left Pulls, focus on right lead arm extension stability with left side rotation.

3 x 100 Descend by 100s on Standard Interval
Focus: Maintain head stability and lead arm extension through balanced rotation.
Each 100 is roughly :05 faster than previous. Start easy and add more ‘umph’ for #2 and #3 without sacrificing head stability, extension & rotation.

No Snorkel / No Fins
2 x 50 Mindful Swimming as Drill 25 / Swim 25 on EZ Interval
Drill: Tag style catch up in power Y start / end position.
Focus on head stability, including side breath, lead arm extension and stability through balanced rotation.

2 x 100 Descend by 100s on Standard Interval
Focus: Maintain head stability through the side breath and back to neutral. Work lead arm extension through balanced rotation. Each 100 is roughly :05 - :10 faster than the previous. Solid effort on # 1 Stronger on #2

2 x 50 as Drill 25 / Swim 25 on EZ Interval / Power Y start & end position
Drill: 3 / 2 / 1 Right Pulls, focus on left lead arm extension stability and right side rotation into 3 / 2 / 1 Left Pulls, focus on right lead arm extension stability with left side rotation.

1 x 100 For Time! Put all the pieces together and see how fast you can swim a 100 at the end of this set! Focus head stability, lead arm extension and quick rotation. Fast walls, tight streamlines.

​2 x 50 as Drill 25 / Swim 25, cool down with proper form. Mindful swimming.
0 Comments

Begin Again: Week Five

3/22/2021

0 Comments

 
Begin Again
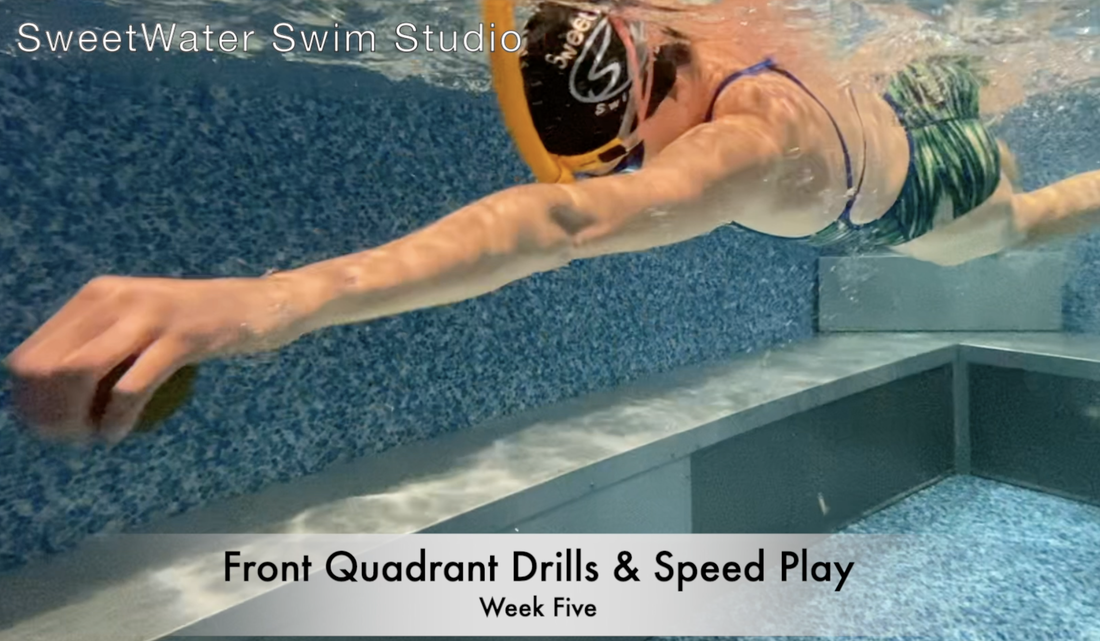
Week Five:  Front Quadrant Drills & Speed Play

Welcome back of the Begin Again series of swim videos. Think of this as a swim curriculum you can follow and/or thread into your current swim training. I am creating this series after a break from the water, building and strengthening foundational skills right along with you!

This series will review foundational drills, skills and workouts that can be individually scaled for time and intensity.
​
Whether you are returning to the water after a break or wanting to maintain solid foundational skills, this series is for you!

Videos for this series will be posted on the The SweetWater Swim Studio Vimeo page in the Begin Again Showcase and video links provided here on this blog. The workout is written below. Feel free to copy/paste onto a paper you can print and keep at the end of your lane. 

I hope you find this video series to be a guiding resource for stroke mechanic, drill and workout ideas. 
​
Watch: Begin Again: Week Five "Front Quadrant Drills & Speed Play" 
Picture
SweetWater Swim Studio
Begin Again
Week Five: Front Quadrant Drills & Speed Play

2000yd / est. 40min session based on a 1:30/100yd swimming pace 

Scale the workout based on time (+/- repetitions) and intensity (+/- pace & +/- recovery)

Gear: Swimmer’s Snorkel / Fins if desired

Focus:  Core Connection, Early Vertical Forearm, Pace Changes
(Push offs, Exhale, Taut Bodyline, Early Vertical Forearm, Bilateral Breathing, Pace Changes)

~ 200yd Balanced EZ Freestyle w/ :20 rest
Focus: Quality walls, taut bodyline, bilateral breathing 

~ 2 x 100yd Choice Drill from weeks 1 – 4 w/ Swimmer’s Snorkel (& Fins if desired)
Ex. High Elbow Scull, Right Arm Lead, Left Arm Lead, Catch Up

~ 200yd alt. 25yd EZ / 25yd Moderate Pace w/ :20 rest 
Focus: Maintain quality form, slight difference between EZ and Moderate  

~ 2 x 100yd Body Drill w/ Swimmer’s Snorkel (& Fins if desired)
Focus: 3 Strokes, 3 Counts Kick w/ Arm Lead, Repeat Continuously

~ 200yd alt. 25yd EZ / 25yd Strong Pace w/ :20 rest 
Focus: Noticeable difference in pacing btwn EZ and Strong 

~ 2 x 100yd Fist Drill w/ Tag Style Catch Up w/ Swimmer’s Snorkel (& Fins if desired)
50yd Fist Drill both hands
25yd First Drill Right Pull & Open Hand Left Pull      
25yd Fist Drill Left Pull & Open Hand Right Pull 

~ 200yd alt. 50yd EZ / 50yd Strong Pace w/ :20 rest 
Focus: Noticeable difference in pacing btwn EZ and Strong 

~ 2 x 100yd Pyramid Isolation Fist Drill w/ Swimmer’s Snorkel (& Fins if desired)

4 / 3 / 2 / 1 Right & Left Pulls in Power Y Position w/ alt. Fist Drill 

~ 200yd STEADY EVEN PACING STRONG SWIM 
Focus: Quality walls, breathing pattern, taut bodyline, EVF

~ 200yd alt. 25yd Choice Drills / 25yd EZ Swim w/ Bilateral Breathing
0 Comments

Begin Again: Week Four

3/14/2021

0 Comments

 
Begin Again
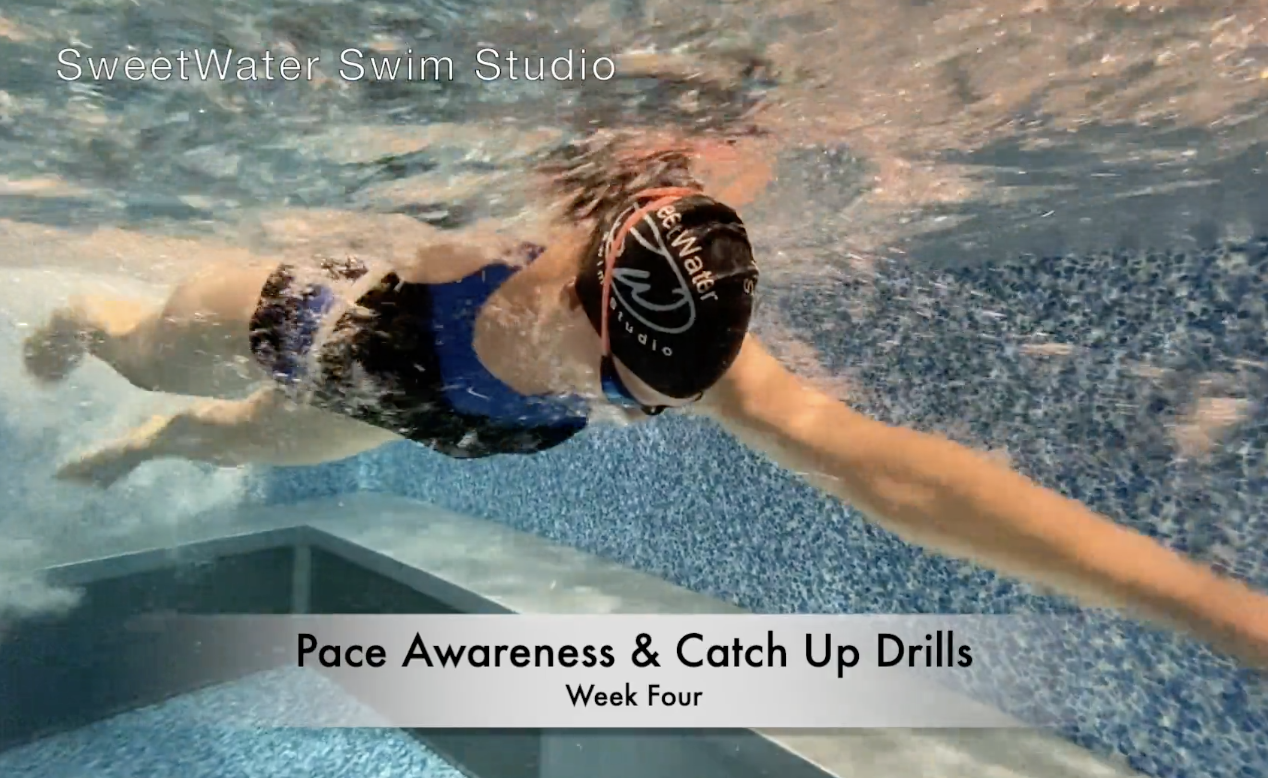
Week Four:  Pace Awareness & Various Catch Up Drills

Welcome back of the Begin Again series of swim videos. Think of this as a swim curriculum you can follow and/or thread into your current swim training. I am creating this series after a break from the water, building and strengthening foundational skills right along with you!

This series will review foundational drills, skills and workouts that can be individually scaled for time and intensity.
​
Whether you are returning to the water after a break or wanting to maintain solid foundational skills, this series is for you!

Videos for this series will be posted on the The SweetWater Swim Studio Vimeo page in the Begin Again Showcase and video links provided here on this blog. The workout is written below. Feel free to copy/paste onto a paper you can print and keep at the end of your lane. 

I hope you find this video series to be a guiding resource for stroke mechanic, drill and workout ideas. 
​
Watch 
Week Four:  Pace Awareness & Various Catch Up Drills
Picture
​SweetWater Swim Studio
Begin Again
Week Four: Various Catch Up Drills & Pace Awareness with Descending 100s
 
2000yd / estimated 40min session based on a 1:30/100yd swimming pace
Scale the workout based on time (+/- repetitions) and intensity (+/- pace & +/- recovery)
 
Gear: Swimmer’s Snorkel / Fins if desired
 
Focus: Catch Up Drill with EVF, Vary the Timing of Catch Up, Pace awareness: Descend 100s)
(Push offs, Exhale, Taut Bodyline, Early Vertical Forearm, Bilateral Breathing, Pacing)
 
~ 5 x 100yd Balanced EZ Freestyle w/ :20 rest
Focus: Quality walls, varying breathing patterns, taut bodyline, EVF
 
~ 100yd Catch Up Drill w/ Swimmer’s Snorkel (& Fins if desired)
           
~ 4 x 100yd Balanced EZ - Moderate Freestyle pace w/ :20 rest
Focus: Quality walls, breathing pattern, taut bodyline, EVF
            Notice your time for each 100yd, maintain < :05 difference in pacing
 
~ 100yd Isolated Catch Up Drill w/ Swimmer’s Snorkel (& Fins if desired)
            Alt. 25yd Right Arm Only Pulling / 25yd Left Arm Only Pulling
 
~ 3 x 100yd Descend by 100s #1 EZ #2 Moderate #3 Strong w/ :20 rest
Focus: Quality walls, breathing pattern, taut bodyline, EVF
            Notice your time for each 100yd
 
~ 100yd Isolated Pull Pyramid in Catch Up Drill w/ Swimmer’s Snorkel (& Fins if desired)
            4 Right Pulls / 4 Left Pulls into 3 Right Pulls / 3 Left Pulls
2 Right Pulls / 2 Left Pulls into 1 Right Pull / 1 Left Pull
Repeat throughout 100yd in Power Y Position
 
~ 2 x 100yd Descend by 100s as #1 Moderate #2 Strong w/ :20 rest
Focus: Quality walls, breathing pattern, taut bodyline, EVF
            Notice your time for each 100yd
 
~ 100yd Varied Catch Up Drill Timing w/ Swimmer’s Snorkel (& Fins if desired)
            Alternate 25yd Heavy Catch Up / 25yd Tag Style Catch Up
 
~ 100yd Freestyle for time STRONG SWIM
Focus: Quality walls, breathing pattern, taut bodyline, EVF
 
~ 100yd EZ Choice Drills 
0 Comments

Begin Again: Week Three

3/7/2021

0 Comments

 
Begin Again
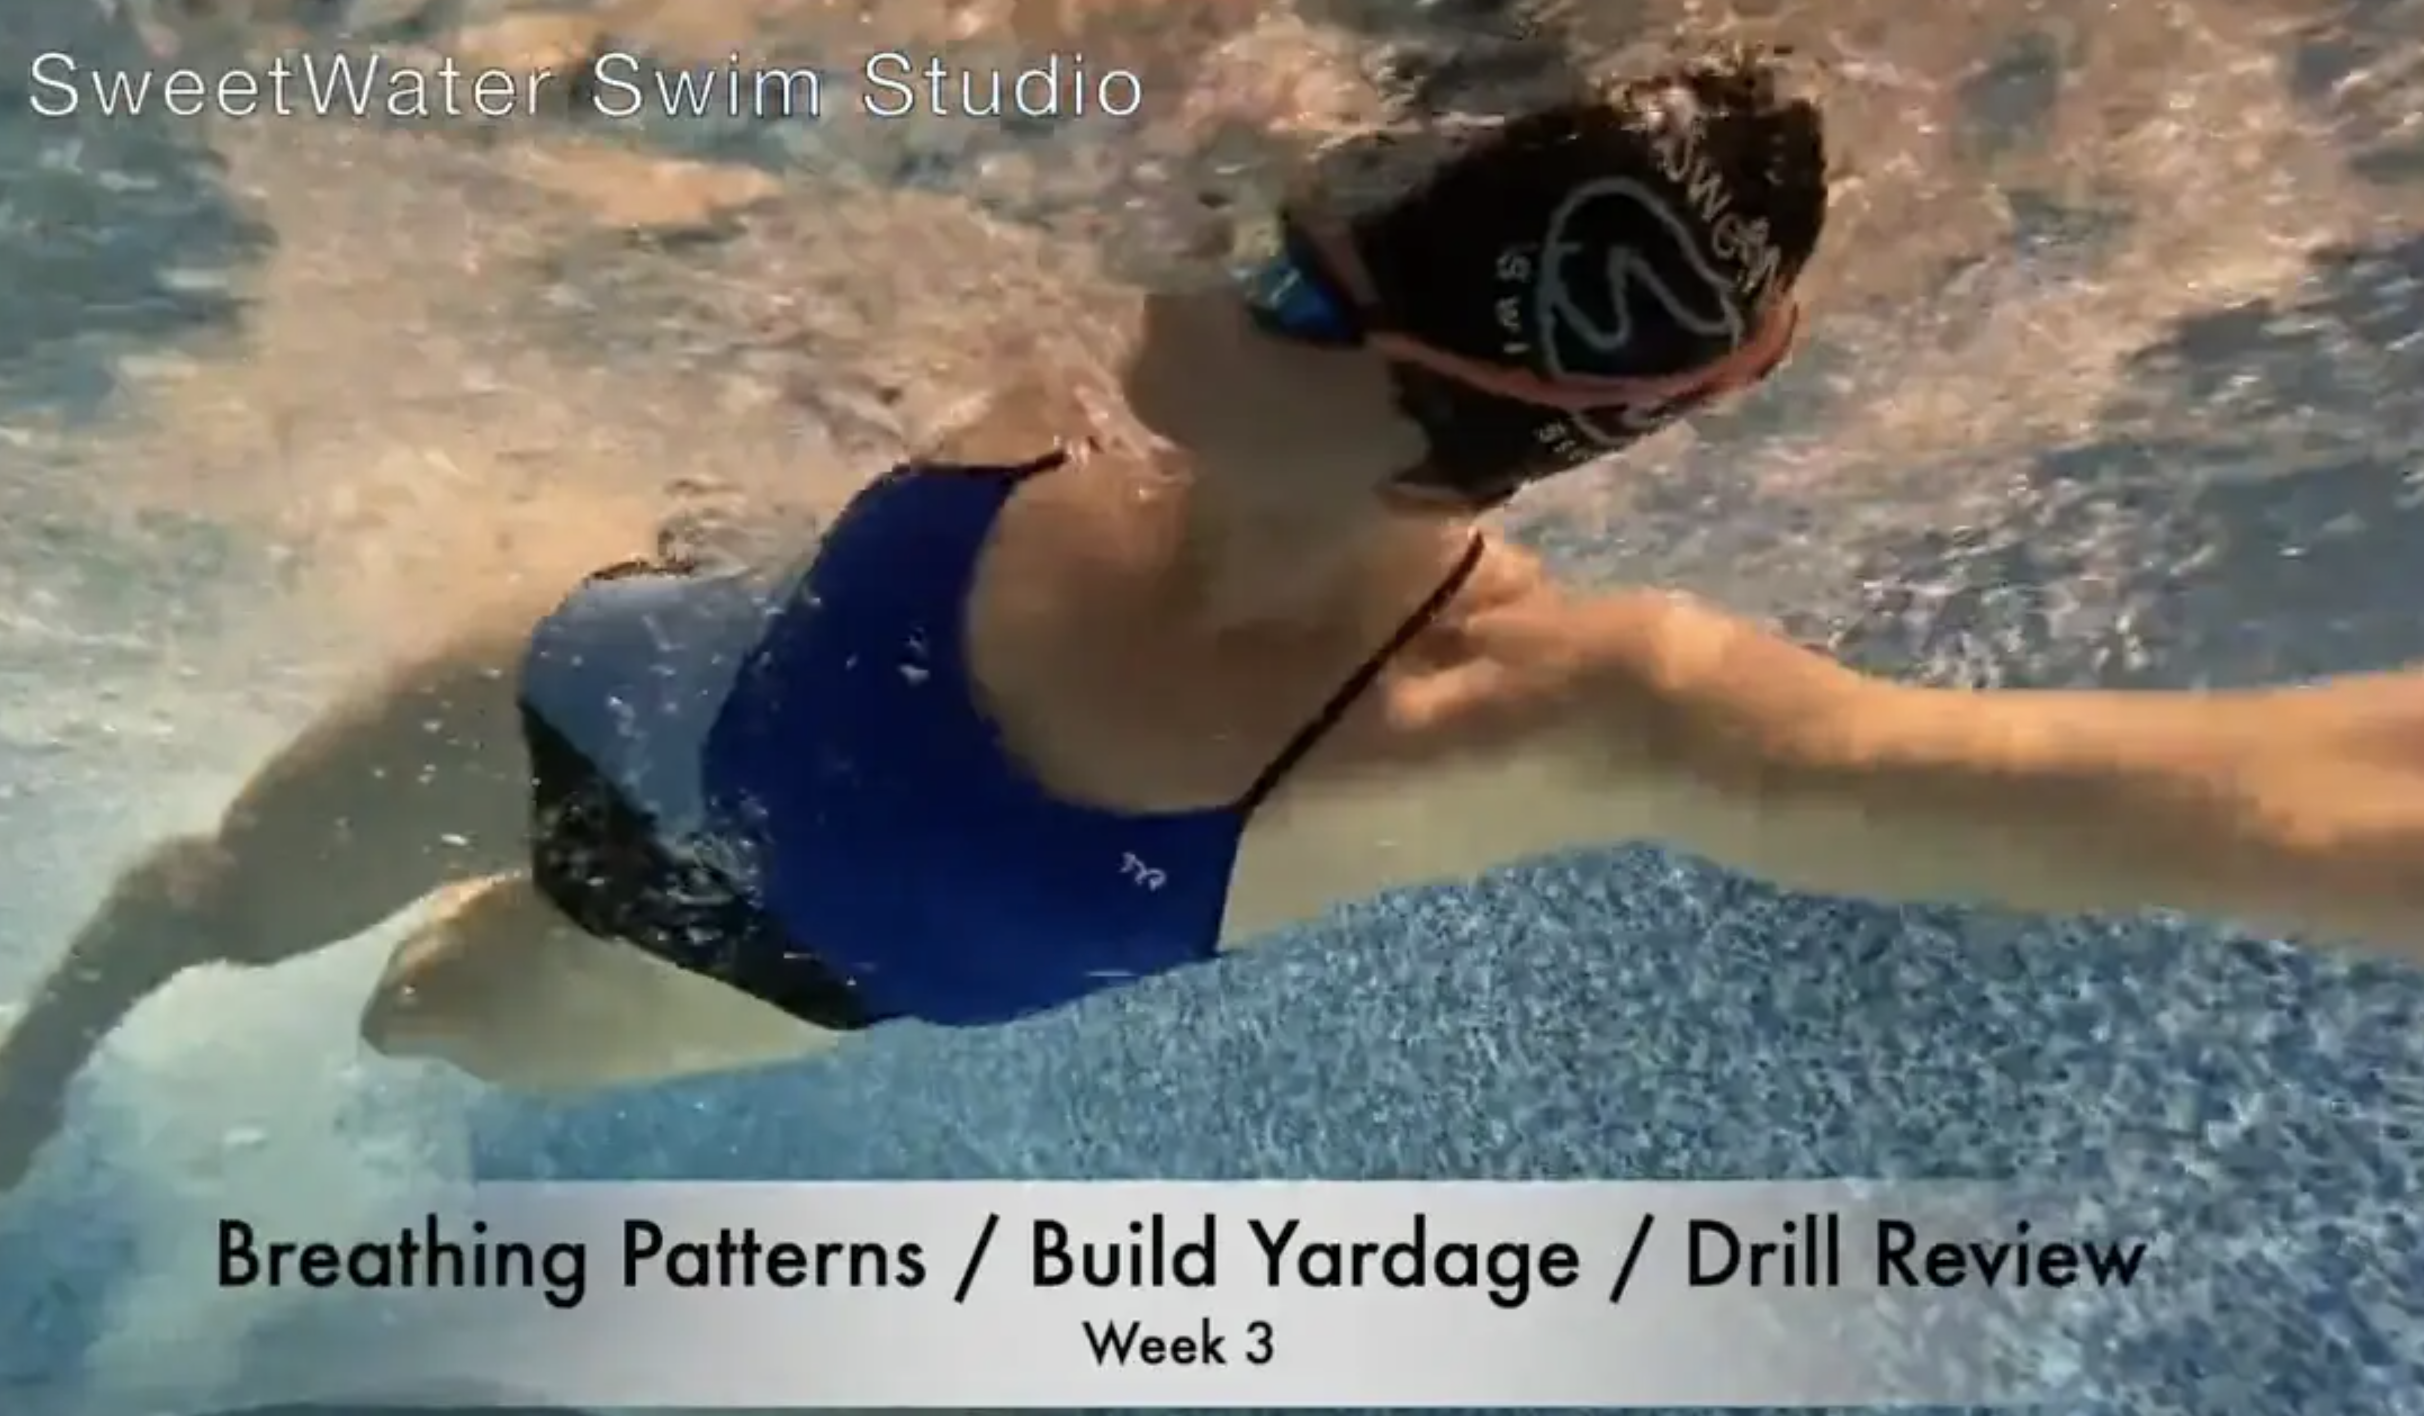
Week Three:  Pyramid Yardage Build w/ Varying Breathing Patterns & Drill Review

Welcome back of the Begin Again series of swim videos. Think of this as a swim curriculum you can follow and/or thread into your current swim training. I am creating this series after a break from the water, building and strengthening foundational skills right along with you!

This series will review foundational drills, skills and workouts that can be individually scaled for time and intensity.
​
Whether you are returning to the water after a break or wanting to maintain solid foundational skills, this series is for you!

Videos for this series will be posted on the The SweetWater Swim Studio Vimeo page in the Begin Again Showcase and video links provided here on this blog. The workout is written below. Feel free to copy/paste onto a paper you can print and keep at the end of your lane. 

I hope you find this video series to be a guiding resource for stroke mechanic, drill and workout ideas. 
​
Watch: Begin Again: Week Three "Breathing Patterns, Build Yardage, Drill Review"
Picture
SweetWater Swim Studio
Begin Again
Week Three: Pyramid Yardage Build w/ Breathing Patterns & Drill Review

1800yd / estimated 35min session based on a 1:30/100yd swimming pace 
Scale the workout based on time (+/- repetitions) and intensity (+/- pace & +/- recovery)

Gear: Swimmer’s Snorkel / Pull Buoy (if desired) / Fins (if desired)

Focus: Building Yardage and Drill Review from Weeks One & Two
(Push offs, Exhale, Taut Body Line, Early Vertical Forearm)

~200yd Swim FOCUS: Push Off and Exhale Focus
Breathing Pattern: Every 3rd Stroke, Bilateral Breathing 

~100yd Continuous Drill w/ Swimmer’s Snorkel & Fins if desired
25yd Head Lead Kick on Belly / 25yd Head Lead Kick on Belly w/ Rotation
25yd Right Arm Load on Rotational Axis / 25yd Left Arm Lead on Rotational Axis

~300yd Swim FOCUS: Push Off and Exhale Focus
Breathing Pattern: 2 Right Breaths, 3 Strokes, 2 Left Breaths, Bilateral Breathing

~100yd Continuous Drill w/ Swimmer’s Snorkel & Pull Buoy (if desired)
25yd Overhead Scull / 25yd High Elbow Scull / 25yd Snap Scull / 25yd High Wide Elbow Scull 
(No Snorkel = Forward Breath, No Buoy = Light kicking heels at surface)

~400yd Swim FOCUS: Push Off and Exhale Focus, Fins if desired
Breathing Pattern: Right Breath / Left Breath Alternate Lengths, Bilateral Breathing 

~100yd Continuous Drill w/ Swimmer’s Snorkel & Fins if desired 
25yd 6 Kick Switch / 25yd 4 Kick Switch / 25yd 2 Kick Switch / 25yd 2 Kick Switch 
(No Snorkel = Side breath toward trailing arm)

~300yd Swim FOCUS: Push Off and Exhale Focus
Breathing Pattern: 2 Right Breaths, 3 Strokes, 2 Left Breaths, Bilateral Breathing

~100yd Continuous Drill w/ Swimmer’s Snorkel & Fins if desired 
Early Vertical Forearm Hesitation into Power Y position before next pull
(No Snorkel = Side breath toward pulling arm after EVF hesitation)

~200yd Swim FOCUS: Push Off and Exhale Focus
Breathing Pattern: Every 3rd Stroke, Bilateral Breathing
0 Comments

Begin Again: Week Two

3/1/2021

0 Comments


Begin Again
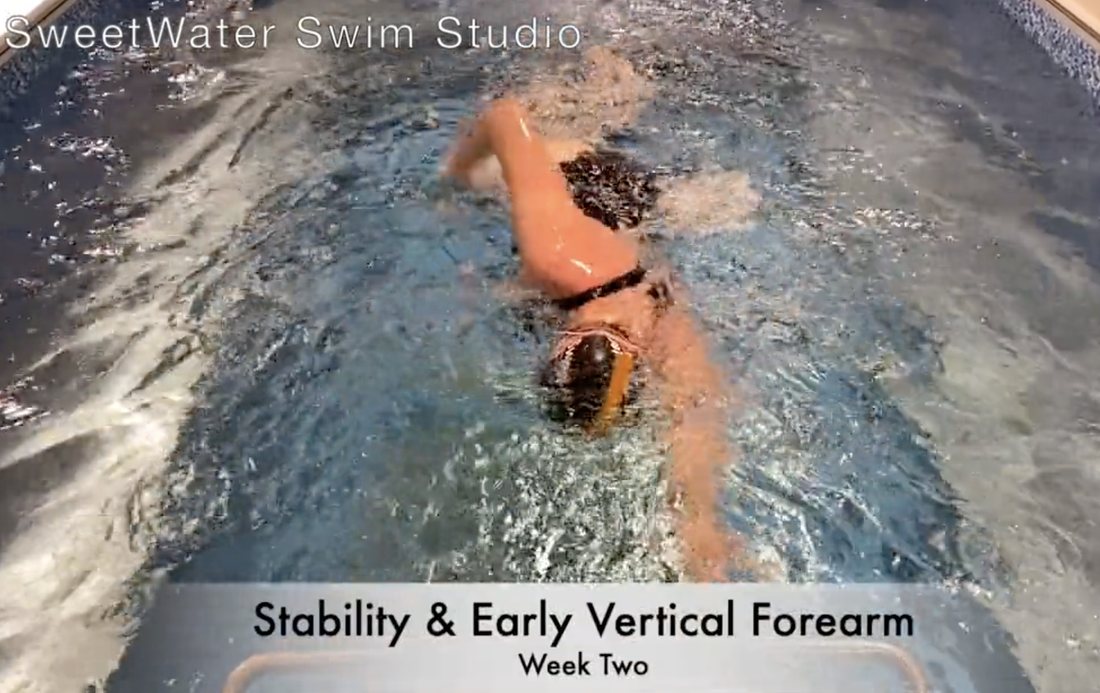
Week Two: Stability of body and Early Vertical Forearm, drills with and without Swimmer's Snorkel

Welcome back of the Begin Again series of swim videos. Think of this as a swim curriculum you can follow and/or thread into your current swim training. I am creating this series after a break from the water, building and strengthening foundational skills right along with you!
​
This series will review foundational drills, skills and workouts that can be individually scaled for time and intensity.
​
Whether you are returning to the water after a break or wanting to maintain solid foundational skills, this series is for you!

Videos for this series will be posted on the The SweetWater Swim Studio Vimeo page in the Begin Again Showcase, FB page and updates and video links provided here on this blog. The workout is written below. Feel free to copy/paste onto a paper you can print and keep at the end of your lane. 

I hope you find this video series to be a guiding resource for stroke mechanic, drill and workout ideas. 
​
Watch: Begin Again: Week Two Stability & Early Vertical Forearm

Picture
Week Two: “Stability & Early Vertical Forearm”
 
1300yd / estimated 35min session based on a 1:30/100yd swimming pace
Scale the workout based on time (+/- repetitions) and intensity (+/- pace & +/- recovery)
 
Gear: Swimmer’s Snorkel / Pull Buoy / Fins (if desired)
 
Focus: Push Offs, Stability, Early Vertical Forearm
 
~200yd Set Up for Success: Streamline / Exhale (with or without snorkel)
Streamline / Dolphin to Flutter / Exhale / Breakout / Breathe 2nd stroke
Focus every push off, exhale underwater with neutral head position
 
~4 x 50yd w/ :15 rest (Snorkel)
Alternate by 25yd Drill / Swim
(Drill ex. Head Lead Kick / Right Arm Lead / Left Arm Lead / High Elbow Scull)
 
~100yd Scull Drills:  Snorkel, Buoy (or light kicking)
Alternate 25yd High Elbow Scull & Power Y Position Snap Scull
 
~200yd Set Up for Success: Streamline / Exhale (with or without snorkel)
 
~100yd EVF & Lead Arm Kicking HESITATION Drills:  Snorkel, Fins if desired
Power Y / EVF Hesitation / Lead Arm Kicking on Rotational Axis Hesitation / Power Y
Fins for stability/support in proper body alignment, not speed or power
 
~200yd Set Up for Success: Streamline / Exhale (with or without snorkel)
 
~100yd Lead Arm 6 Kick Switch Drill: Snorkel, Fins if desired
Power Y / EVF Easy Pull / Lead Arm Kick on Rotational Axis for 6 Kicks / Power Y
Alternate pulling arm after Power Y is achieved
Can incorporate 6, 4 & 2 Kick Switch w/ bilateral breathing
Fins for stability/support in proper body alignment, not speed or power
 
~200 Set Up for Success: Streamline / Exhale (with or without snorkel)
0 Comments

Begin Again: Week One

2/21/2021

0 Comments

 
Begin Again

I'm excited to develop the Begin Again series of swim videos. This is not only a desire to connect with other swimmers, albeit virtually, but also a personal journey of returning to the water.  We'll revisit drills and skills that create a solid freestyle foundation and build an efficient and powerful stroke.  I'd like to begin again, with you!

This series will review foundational drills, skills and workouts that can be individually scaled for time and intensity.
​
Whether you are returning to the water after a break or wanting to maintain solid foundational skills, this series is for you!

Videos for this series will be posted on the The SweetWater Swim Studio Vimeo page in the Begin Again Showcase, FB page and updates and video links provided here on this blog.

I hope you find this video series to be a guiding resource for stroke mechanic, drill and workout ideas. 
​
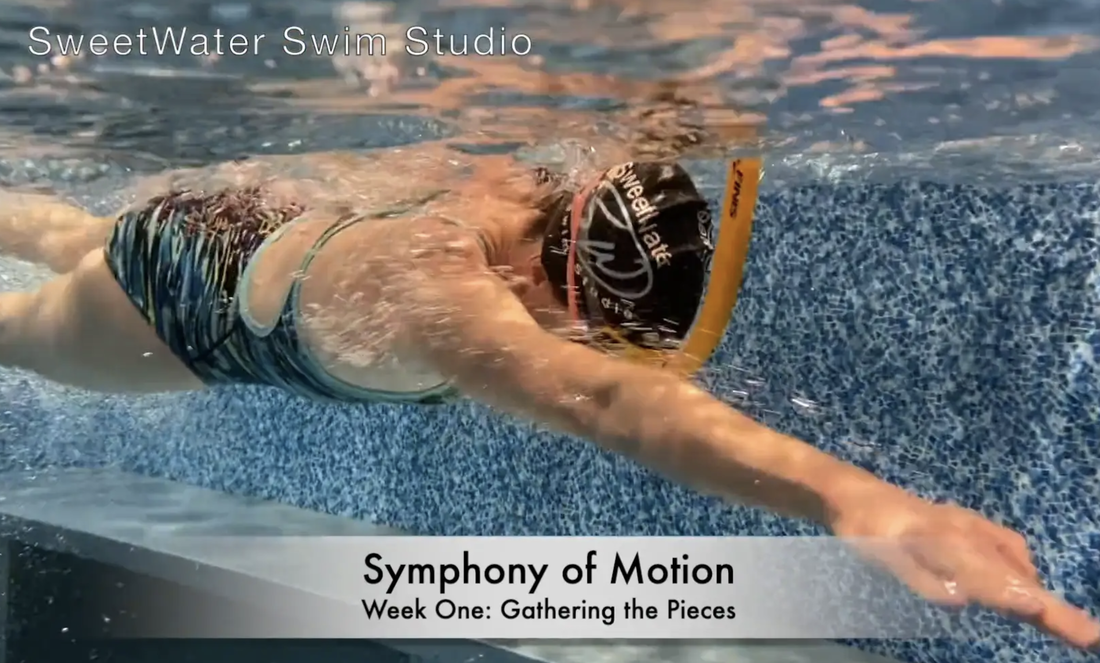
Watch: Begin Again: Week One "Symphony of Motion"​
Picture
Week One: Symphony of Motion
"Gathering the Pieces"
 
1,150yd / estimated 30min session based on a 1:30/100yd swimming pace
Scale the workout based on time (+/- repetitions) and intensity (+/- pace & +/- recovery)
 
Gear: Swimmer’s Snorkel / Pull Buoy / Fins (if desired)
 
Focus: Exhale, Core Connection, Body Alignment
 
~ 200yd Swim w/ focus on exhale
*Break into 2 x 100 or 4 x 50 if desired
*Use Swimmer’s Snorkel if desired
 
~ 100yd alt. Head Lead Kick on Belly / Head Lead Kick with Rotation use Swimmer’s Snorkel
*Use fins if desired to maintain proper body position
         *If no snorkel, breathe to the side w/ rotation
 
~ 200yd Swim w/ focus on exhale, core connection and body alignment
*2 x 100 or 4 x 50 if desired in place of continuous 200yd Freestyle
*Use Swimmer’s Snorkel if desired
 
~ 75yd alt. Right Arm Lead on Belly, on Rotational Axis, w/ Rotation use Swimmer’s Snorkel
~ 75yd alt. Left Arm Lead on Belly, on Rotational Axis, w/ Rotation use Swimmer’s Snorkel
*Use fins if desired to maintain proper stable body position
         *If no snorkel, breathe to the side w/ rotation
 
~ 200yd Swim w/ focus on exhale, core connection and body alignment
*2 x 100 or 4 x 50 if desired in place of continuous 200yd Freestyle
*Use Swimmer’s Snorkel if desired
 
~100yd alt. Overhead and High Elbow Sculling with Swimmer’s Snorkel & Pull Buoy
         *If no snorkel, breathe to front
         *If no buoy, very light kicking to keep legs/feet afloat
 
~ 200yd Swim w/ focus on exhale, core connection and body alignment
*2 x 100 or 4 x 50 if desired in place of continuous 200yd Freestyle
*Use Swimmer’s Snorkel if desired

0 Comments

Swim Strong Phase III: Multiphase Dryland Series for Swimmers

3/16/2020

0 Comments

 
​Welcome back to our progressive dryland training sequence, Swim Strong. Now that you have progressed through Phases I & II, you are ready to introduce the use of resistance bands and add a challenge to the traditional side plank in Phase III. Read Phase I here and Phase II here.

Resistance bands are simple training tools you can take with you anywhere (pack them in your swim bag!). Despite being simple, they are powerful tools that increase load on the muscles, tendons, and ligaments in addition to working range of motion. When using resistance bands, it is important to remember that form is the main priority, not working to failure. Due to the fact that the resistance intensifies as the band stretches, choose a band with a lighter resistance (we use ¼ - ½ inch for our clients). Here is a link to some of our favorites.

The goal of this series is to increase a swimmer’s range of motion while building strength, mobility and athleticism. This fundamental movement pattern work aids in injury prevention, tightens connective tissue, and improves swim mechanics and strength. Dryland training, at the pool and at home, is a valuable addition to any swimmer’s routine regardless of age or fitness level. 

Use the following Phase III exercise routine as your dynamic warm up before each swim, at home, or before other activities. Allow 3-5 minutes 3x/week. Feel free to alternate days while revisiting exercises from Phase I and Phase II. On the pool deck, use a kickboard as a cushion for your knees, ankles, and forearms when appropriate.
A dynamic warm up increases blood circulation and fires up muscles soon to be engaged in the water. Think, “RAMP Up!” before you start up. (RAMP = Range of motion, Activation, Muscle Pliability.)
Do not force movements in this routine and build repetitions and time in exercises gradually. Remember, when using resistance bands, focus on form and do not work to failure.

BAND PULL APARTS
Why do it? The band pull apart is a great drill to focus on strengthening the upper back and posterior (rear) shoulder. Think of these as the “posture muscles”. These groups are extremely important in allowing for shoulder mobility and helping to maintain a tall, neutral spine.
How to do it well: In a tall kneeling position (both knees on the ground), start by pulling the toes under the shins. Press the hips forward and raise the band to chest height with the palms facing upwards as depicted by the green arrows. Pull the band outward with the elbows remained in a straight (not locked) position. Complete 2-4 sets of 10-15 repetitions. Watch video example here.
Common mistakes: The most common mistakes are starting with the back rounded and the arms raised above the shoulders, extending or arching the back, and shrugging the shoulders during the pulling phase as depicted by the red arrows.

SIDE PLANKS WITH HIP DIP
Why do it? The side plank with hip dip is a great drill to focus on the obliques, outer hip, and shoulders.
How to do it well: Start with the elbow directly under the shoulder and the feet in either a stacked position or heel to toe position with the hips in a neutral position. In a slow, controlled manner, draw the abs in and lift the hips towards the ceiling then return to the floor. Complete 2-4 sets of 8-12 repetitions. Watch video example here.
Common mistakes: The most common mistakes are starting with the hips too high, the elbow not aligned with the shoulder, and the shoulders rounded forward.

BENT OVER BAND ROWS
Why do it? The band bent over rows is a great drill to improve the spine stabilizers and strengthen the upper and mid back.
How to do it well: Standing on the band with the feet hip width apart, slightly bend the knees, stick the butt back, and draw the shoulder blades together creating a strong, neutral spine. Pull the band upwards and imagine bringing the hands towards your pockets with the elbows straight up. Return the arms to a straight position. Complete 2-4 sets of 12-15 repetitions. Watch video example here.
Common mistakes: The most common mistakes are standing with the knees straight, rounding the spine, and allowing the elbows to pull outside.

SUPERMAN BAND PRESS
Why do it? The superman band press is a great drill to strengthen the posterior chain, including the paraspinal muscles, lats, posterior deltoid and rhomboids all while improving mobility of the shoulders.
How to do it well: Start by lying face down with the hands towards the end of the band with the palms facing down. Push the toes into the floor and extend the knees while pulling the band slightly higher than the head. Put tension on the band while pulling the band behind the head until the elbows reach the end point. Return the arms to a straight position while keeping tension on the band. Complete 2-4 sets of 8-15 repetitions. Watch video example here.
Common mistakes: The most common mistakes are extending the back and allowing the chest to leave the floor, pulling too much tension on the band, and not bending the elbows as the band comes behind the head.
0 Comments

Swim Strong: Phase II Multiphase Dryland Series for Masters Swimmers

8/19/2019

0 Comments


Written by Stacy Sweetser, ASCA & USMS Level II, SweetWater Swim Studio
& Chris Brown, CSCS, CCET, Endurafit Training and Rehab


Welcome back to the Swim Strong Series. This is the second phase of a progressive dryland training sequence meant to build athleticism that compliments the demands of moving forward through the water efficiently and powerfully. See Phase I here on the SweetWater website. 

Dryland training, at the pool and at home, is a valuable addition to any swimmer’s routine regardless of age or fitness level. Click here to read Phase I of the Swim Strong Series on the New England LMSC site.

The goal of this series is to increase a swimmer’s range of motion while building strength and mobility. This fundamental movement pattern work aids in injury prevention, tightens connective tissue, and improves swim mechanics and strength. Each phase builds upon the previous phase. The early phases will focus on range of motion, mobility and stability, then progress into strength and resistance exercises.

Use the following Phase II exercise routine as your dynamic warm up before each swim, at home, or before other activities. Allow 3-5 minutes 3x/week. Feel free to alternate days while revisiting exercises from Phase I.

A dynamic warm up increases blood circulation and fires up muscles soon to be engaged in the water. Think, “RAMP Up!” before you start up. (RAMP = Range of motion, Activation, Muscle Pliability.) Do not force movements in this routine and build repetitions and time in exercises gradually.

​If on the pool deck, use a kickboard as a cushion for your knees, ankles, and forearms when appropriate.

WALL SLIDES

Why do it? Wall slides are a great drill to improve shoulder extension and lat activation.

How to do it well: Keeping the spine neutral, place the elbow, forearm and wrist on the wall with the elbow at shoulder height. Push the hands toward the ceiling, keeping the elbow and forearm in contact with the wall, while pulling the shoulder blades down as depicted by the green arrows. Complete 8-10 repetitions.

Common mistakes: The most common mistakes are rounding the spine, pulling the elbows away from the wall on extension, and shrugging the shoulders as depicted by the red arrows. (See slideshow above for all photos)

CHEST OPENERS

Why do it? The chest opener is a great way to activate the posterior deltoid and rhomboids (think upper back) while stretching the pecs.

How to do it well: In a half kneeling position and with a neutral spine, place the hands around the ears with the elbows out to the side. Pull the elbows back while squeezing the shoulder blades together and exhaling. Complete 6-8 repetitions.

Common mistakes: The most common mistakes are starting with the elbows too far forward with a rounded spine and head tilted forward, arching the back during the pull back motion, and pointing the toes on the rear foot.  (See slideshow above for all photos)

T-SPINE ROTATIONS

Why do it? T-Spine Rotations are a great drill to provide mobility through the mid-back (thoracic spine).

How to do it well: In a half kneeling position, place the hands around the ears with the elbows out to the side (similar to the starting position of the chest openers). Take a deep breath in then exhale hard as you rotate over the front leg. Inhale and return to the starting position. Complete 6-8 repetitions.

Common mistakes: The most common mistakes are rounding the spine throughout the range of motion, not pulling the elbows back to engage the upper back, dropping the chin, and pointing the rear toes. (See slideshow above for all photos)

ANKLE MOBS

Why do it? The Ankle Mobs (or Ankle Mobility) drill is one of our favorites for developing ankle mobility and flexibility in the gastrocnemius and soleus muscles (calf muscles).

How to do it well: Starting in the half kneeling position with the spine in neutral and the front foot slightly behind the front knee, place the hands on top of the knee. Shift your weight forward as you press the knee past the front toes while keeping the front heel in contact with the floor. Return to starting position. Complete 10-12 repetitions.

Common mistakes: The most common mistakes are extending the spine, starting with the front foot too far forward, and allowing the front heel to lose contact with the floor. (See slideshow above for all photos)

AROUND THE WORLD

Why do it? The Around the World drill is a great movement to improve range of motion and flexibility of the rotator cuff.

How to do it well: Using a strap or a towel long enough to allow you to go through the range of motion, grab the end of the strap/towel with the palms facing down and the arms fully extended. Bring one arm overhead with the other out to the side to form a triangle. Bring both arms behind, then continue the motion to the other side. Repeat from the opposite side. Complete 4-6 repetitions.

Common mistakes: The most common mistakes are standing with the back extended (arched), using a strap or towel that is too short, and bending the elbows.  (See slideshow above for all photos)


0 Comments

Swim Strong: Phase I Multiphase Dryland Series for Masters Swimmers

7/28/2019

0 Comments


By Stacy Sweetser, ASCA & USMS Level II, SweetWater Swim Studio & Chris Brown, CSCS, CCET, Endurafit Training and Rehab for NEMLSC blog, part of, US Master Swimming

Swimming strong is about building athleticism that compliments the demands of moving through the water efficiently and powerfully. Dryland training, at the pool and at home, is a valuable addition to any swimmer’s routine regardless of age or fitness level. The goal of this series is to increase the swimmer’s range of motion while building strength and mobility. This fundamental movement pattern work aids in injury prevention, tightens connective tissue, and improves swim mechanics and strength.
​
The Swim Strong Series will present dryland exercises in progressive phases. Each phase builds upon the previous phase. The early phases will focus on range of motion, mobility and stability then progress into strength and resistive exercises.  
Use the following Phase I exercise routine as your dynamic warm up before each swim, at home or before other activities. A dynamic warm up increases blood circulation and fires up muscles soon to be engaged in the water. Think, “RAMP Up!” before you start up. (RAMP = Range of motion, Activation, Muscle Pliability.)

Allow 3-5 minutes to complete this simple but effective routine at least 3x/week. On the pool deck, use a kickboard as a cushion for your knees, ankles, and forearms when appropriate.

Do not force movements in this routine and build repetitions and time in exercises gradually.

POSTURE ROW​

Why do it? The Posture Row teaches us how to engage our upper back and shoulders while keeping our spine in a “neutral” position. A neutral spine aids in a better overall body position in the water.
How to do it well: Standing with the feet hip width apart, knees flexed and hips back, make sure the head, neck and spine are in a “neutral” position as depicted by the green arrows below. Allow the fingertips to fall straight down to the floor, then draw the arms straight up towards the ceiling while squeezing the shoulder blades together. As you perform this motion, it is important that you remember to engage your core. One tip is to “zipper up the belly button” or, in other words, imagine trying to pull the zipper on your pants up with your belly button. Complete 12-15 repetitions.
Common mistakes: The most common mistakes most people make are 1) keeping the knees locked, 2) rounding the spine, and 3) not fully engaging the core. This will cause a “shrugging” motion instead of a pulling motion as depicted by the red arrows in the above photo.

SUPPORTED HIP HINGE

Why do it? The Supported Hip Hinge is a great drill which will help develop mobility of the shoulders and hips as well as flexibility of the hamstrings.
How to do it well: Standing with your hands on a wall (roughly shoulder height) take one step back from vertical with our feet hip width apart. Keeping your hands on the wall, slightly flex the knees as you press your hips back while “zippering up your belly button.” Your end range of motion should show a straight line from the wrist to the hips as depicted by the green arrows. Complete 8-10 repetitions.
Common mistakes: The most common mistakes people make are 1) standing too close to the wall, 2) locking the knees, 3) rounding the spine, and 4) not fully engaging the core. This will cause a shortening of shoulder range of motion as well as the forehead dropping towards the floor.

HEEL SITS / TOE SITS

Why do it? Ankle flexibility and mobility are crucial to swimmers both during the kick and push off of the wall. Heel Sits and Toe Sits are great drills to develop ankle and knee/quadriceps flexibility.
How to do it well: For Heel Sits, start in a quadruped position with your toes pointed back. Slowly lower your hips to your heels and sit in a tall position. For Toe Sits, start in a quadruped position with your toes pulled towards your shins. Slowly lower your hips towards your heels and sit in a tall position. Even though you are in a kneeling position, it is critical that your core is engaged, so, you guessed it... “Zipper up the belly button”. Take 8-10 deep breaths in each position.
Common mistakes: The common mistake most people make during both of these drills is allowing the shoulders to fall forward as depicted by the red arrows in photo above. Remember to sit as tall as possible pulling the shoulder blades together and engage the core.


PLANK

Why do it? The plank is the best “bang for your buck” drill. When done properly, it engages every muscle in the body, giving us a complete sense of core stability. Core stability is critical to hold a taut body line in the water.
How to do it well: Starting with the elbows directly under the shoulders and the toes in line with the ankles as depicted by the green arrows below, focus on engaging all areas of the body. Start by clenching the fists, then the biceps. Zipper up the belly button as you squeeze your glutes (“butt”). Now squeeze the thighs and pull the elbows down toward the toes. You should now feel the entire body working to stabilize. Hold 30-60 seconds.
Common mistakes: The common mistakes most people make during the plank are 1) allowing the hips to rise or fall out of neutral (as depicted by the red arrows in photos above)  and 2) not fully engaging the body during the exercise.

0 Comments
<<Previous

    Author

    "Swimming faster by keeping it simple."
    Stacy Sweetser

    Archives

    October 2022
    September 2022
    March 2021
    February 2021
    March 2020
    August 2019
    July 2019
    October 2018
    June 2016
    May 2016
    January 2016

    Categories

    All

    RSS Feed

Proudly powered by Weebly