I am honored to receive the 2023 U.S. Masters Swimming Fitness Award. This award is given to USMS community members or organizations demonstrating an outstanding contribution to fitness activities within U.S. Masters Swimming. Thank you!
To celebrate receiving this award, I have shared a few of my favorite main sets to SweetWater Swim Studio FaceBook and SweetWater Swim Studio Instagram, in a series called "Favorites on Friday." I posted these main sets on Friday's in the fall. Posting them here as well.
Please, as with any exercise regime, be sure to have medical clearance before starting. Always adjust the workload as needed based on your current fitness level.
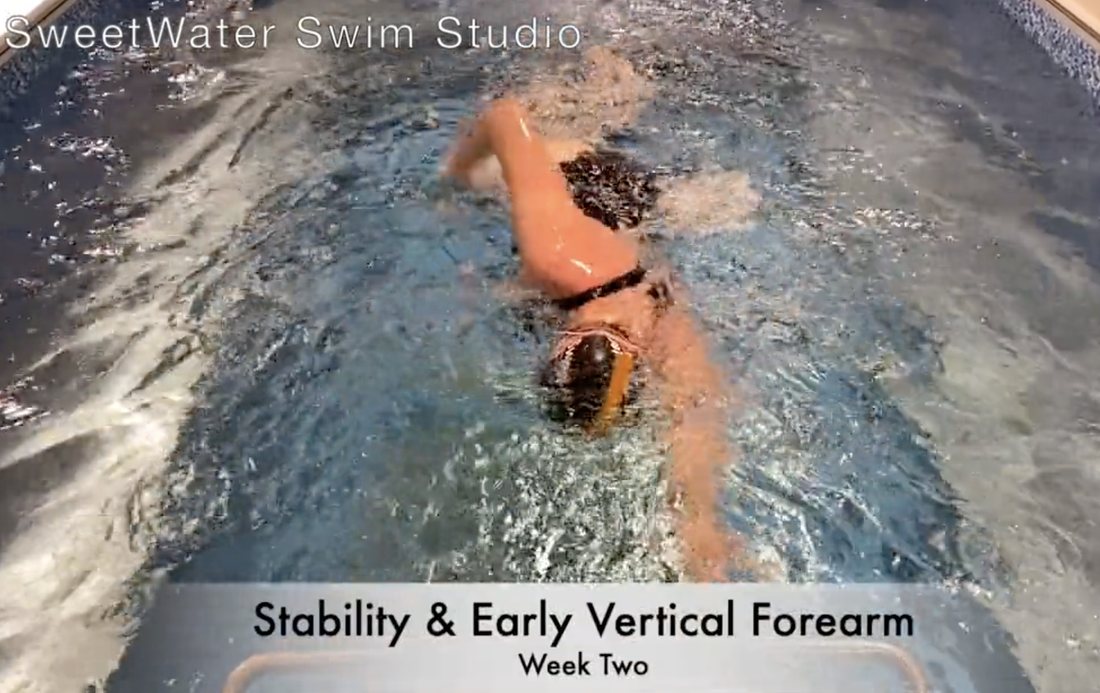
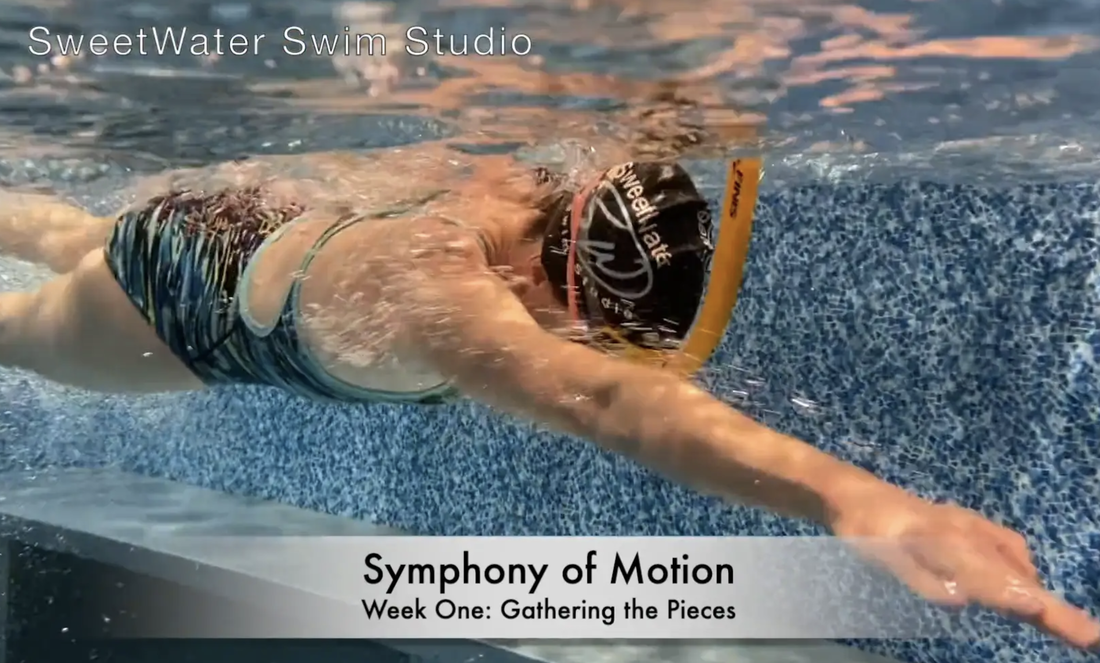
Have fun, swim strong, and remember, technique matters! If you are looking for more technique focused videos, check out the many SweetWater Swim Studio videos I have created.
Looking for one:one in person or online coaching? I'd love to work with you and help you achieve your goals!
Happy Swimming!
To celebrate receiving this award, I have shared a few of my favorite main sets to SweetWater Swim Studio FaceBook and SweetWater Swim Studio Instagram, in a series called "Favorites on Friday." I posted these main sets on Friday's in the fall. Posting them here as well.
Please, as with any exercise regime, be sure to have medical clearance before starting. Always adjust the workload as needed based on your current fitness level.
Have fun, swim strong, and remember, technique matters! If you are looking for more technique focused videos, check out the many SweetWater Swim Studio videos I have created.
Looking for one:one in person or online coaching? I'd love to work with you and help you achieve your goals!
Happy Swimming!
Favorites on Friday: Favorite Main Sets
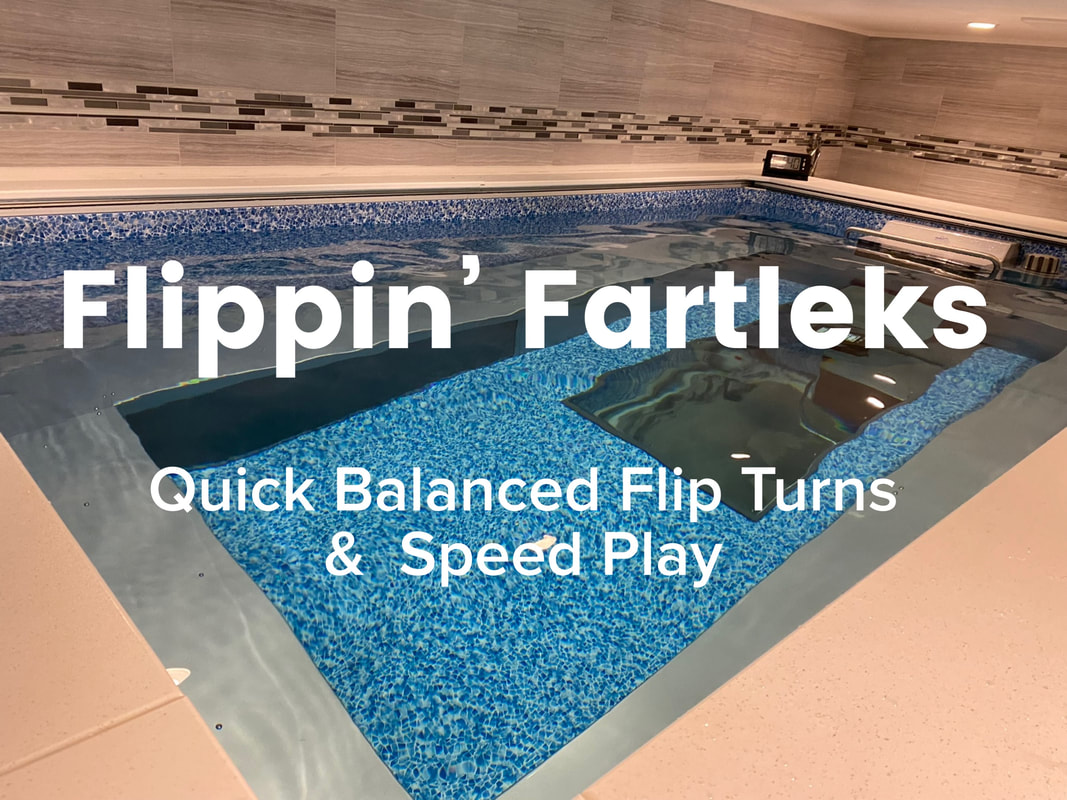
Flippin’ Fartleks
Let’s remind our bodies how to play with different swim speeds, aka Fartlek style training, and get extra practice working quick and balanced flip turns mid pool. It’s beneficial to have various swim speeds, growing the gap between your fast pace and easy pace. Fartlek’s help with this. Transfer the skills of a quick and balanced mid pool flip to the wall flip. If you don’t do flip turns, mid pool flips are a great way to start learning. Vertigo? Skip the flip.
Warm Up:
10’ - 20’ of choice drills & pre-set descend prep
Favorite Main Set: Flippin’ Fartleks
2 - 3 x Thru
4 x 50 as 25 EZ / 25 Build with mid pool flip
Rest: Standard Interval or :15 - :20 rest
5 x 100 as 25 FAST / 75 Cruise
Rest: Standard Interval or :15 - :20 rest
Cool Down: 10’ EZ w/ choice drills
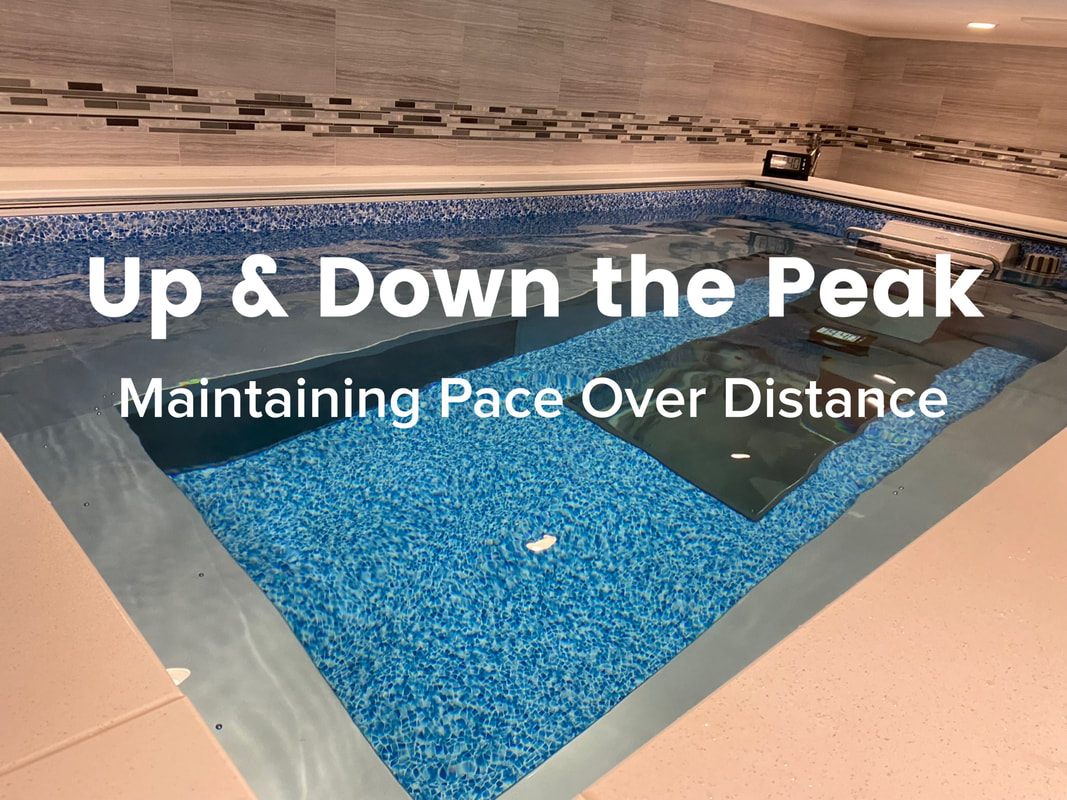
Up & Down the Peak
Maintaining Pace Over Distance
We’ll work our way up and down in distance while maintaining stroke length and steady pacing. This set is intended to be a light to moderate aerobic effort throughout. The goal is to be able to swim steady for the entire main set. Can you maintain pace with no more than :05 difference per 100yd in the entire set?
Don’t burn any matches on the first 100… steady as she goes.
Warm Up:
10’ - 15’’ of choice drills with length on the water focus.
Favorite Main Set: Up & Down the Peak
100 / 200 / 300 / 400 / 300 / 200 / 100
Rest: Standard Interval or :10 - :20 rest
Enough rest to maintain light to moderate aerobic effort while maintaining a steady pace throughout.
Cool Down:
5-10’ EZ w/ choice drills
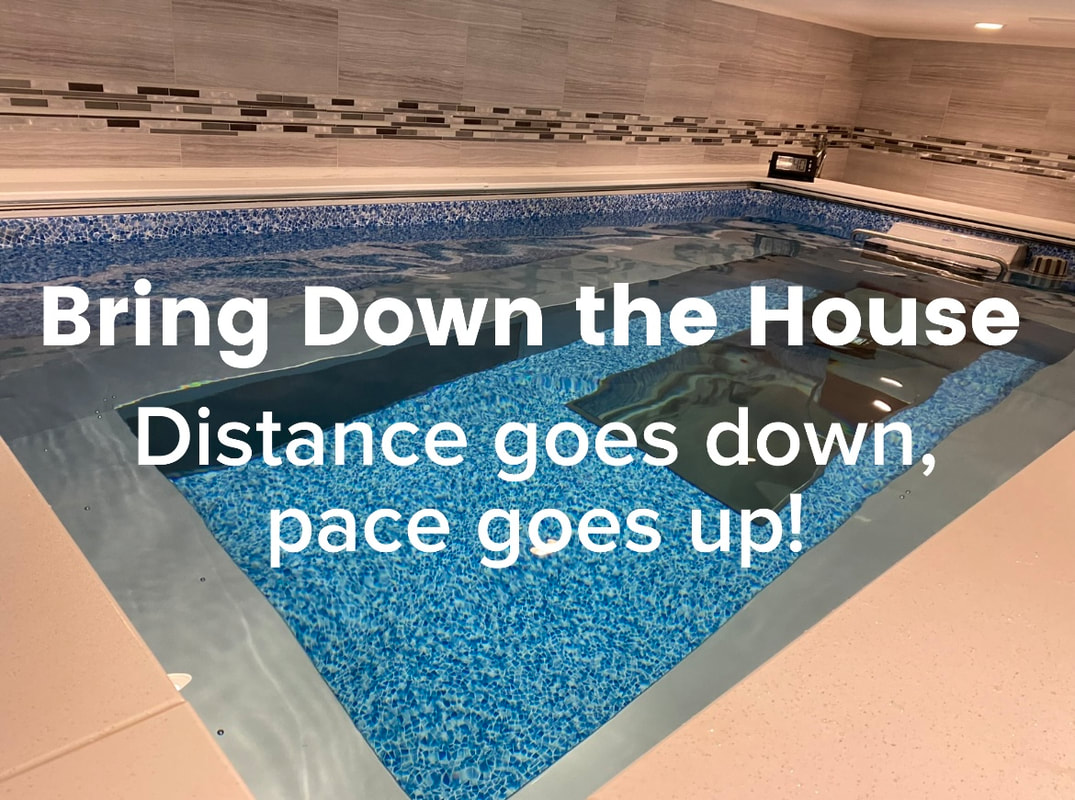
Bring Down the House
Distance goes down, pace goes up!
We’ll start with a smooth cruise 500yd then incorporate slight pace increases per block, finally ending in a grip and rip 100yd for time!
Warm Up:
10’ - 20’ of choice drills & pre-set descend 50s prep. Don’t forget to work the walls!
Favorite Main Set: Bring Down the House
500 Swim Smooth Cruise w/ Steady Pacing (or 5 x 100) on Standard Interval
400 Swim Slightly Faster than 500, Steady Pacing (or 4 x 100) on Standard Interval
300 Swim Slightly Faster than 400, Steady Pacing (or 3 x 100) on Standard Interval
200 Swim Slightly Faster than 300, Steady Pacing (or 2 x 100) on Standard Interval
100 for time! How fast can you go staying long and strong?
Cool Down:
10’ EZ w/ choice drills
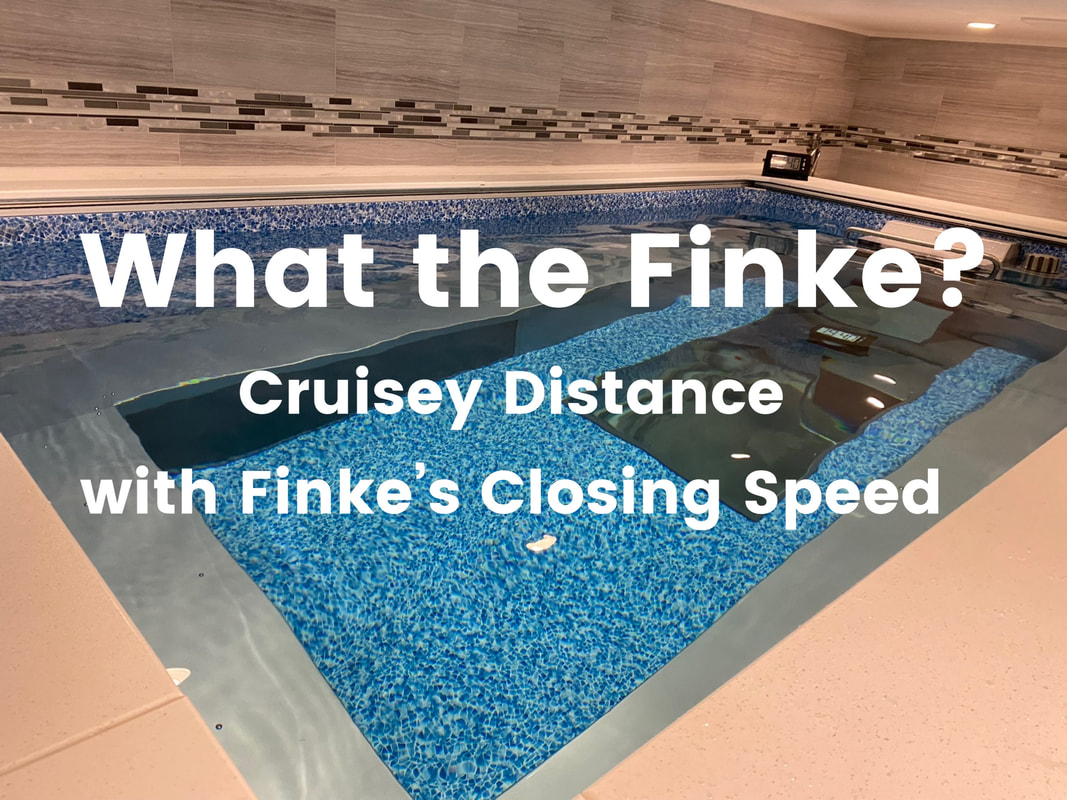
What the Finke?
Cruisey distance with incredible closing speed.
Let’s sneak in some cruisey broken distance work with the smashing closing speed of distance extraordinaire Bobby Finke! If you haven’t seen how Bobby Finke closed out his two gold medal distance events in Tokyo, watch his 800m and 1500m events and wait for it. He’s proved the same strategy in other races as well. It works for him, does it work for you?
Warm Up:
10’ - 20’ of choice drills & pre-set descend 50s prep. Don’t forget to work the walls!
Favorite Main Set: What the Finke?
13 x 100 Smooth Cruise w/ perfect form, ample breathing, clean walls, maintaining pace for all. Standard Interval or :20 rest. Get enough rest to maintain quality form and steady moderate aerobic level. Consistency in pacing is the goal here.
Masters Minute Rest: Prepare for true descending work here. #1 must be very easy, work form.
4 x 50 DESCENDING each 50, aim for :03-:05 faster each 50.
Masters Minute Rest: Prepare for a strong and fast 50 Free, close like Bobby Finke!!
50 FOR TIME!
Cool Down:
10’ EZ w/ choice drills
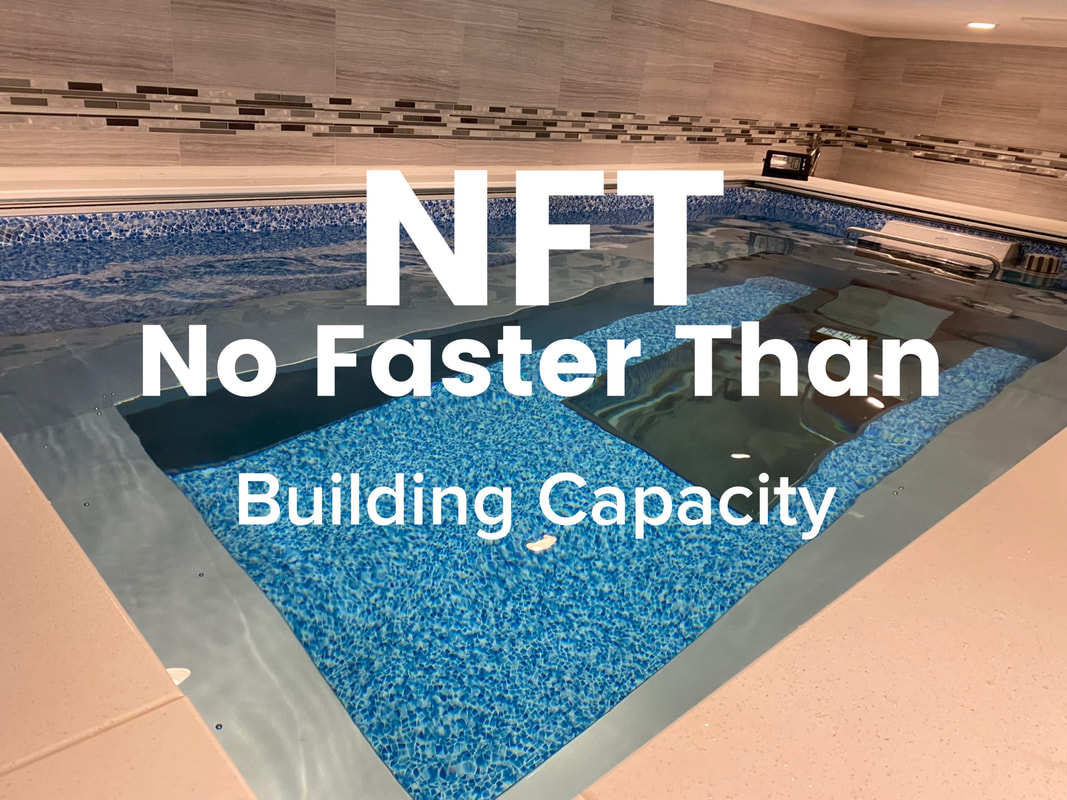
NFT
No Faster Than- Building Capacity
This main set focuses on increased yardage blocks while building capacity to maintain efficient form and consistent pacing. Before the main set, establish NFT (No Faster Than) paces. How disciplined and consistent can you be with your NFT pacing?
Warm Up:
10’ - 20’ of choice drills & pre-set descend 50s prep. Don’t forget to work the walls!
Favorite Main Set: NFTs: No Faster Than
Determine the pace you can hit while maintaining perfect form at a light aerobic level over 20-30min. That pace is your NFT (No Faster Than) pace for this main set. No ego here!
2 x 100 @ NFT pace on S.I. or :20 rest
300 @ NFT pace on S.I. or :20 rest
1 x 100 @ NFT pace on S.I. or :20 rest
400 @ NFT pace on S.I. or :20 rest
2 x 100 @ NFT pace on S.I. or :20 rest
300 @ NFT pace on S.I. or :20 rest
Cool Down:
10’ EZ w/ choice drills

Disappearing Act
Long Cruise & Short Speed w/ Decreasing Yardage
Yardage disappears with a trend toward negative splitting the workout.
Cruise the longer efforts with perfect form and a touch of drill work, no concern for pace.
Monitor and increase the pace for the 100s. Can you make those 100s trend faster throughout and finish with the strongest 100 of the day?
Favorite Main Set: Disappearing Act
500 Cruise, Drill 1st 25 of each 100 if desired, :20 rest
5 x 100 on S.I. or :20 rest (Effort 6/10 steady pace or descend 1-5)
400 Cruise, Drill 1st 25 of each 100 if desired, :20 rest
4 x 100 on S.I. or :20 rest (Effort 7/10 steady pace or descend 1-4)
300 Cruise, Drill 1st 25 of each 100 if desired, :20 rest
3 x 100 on S.I. or :20 rest (Effort 8/10 steady pace or descend 1-3)
200 Cruise, Drill 1st 25 of each 100 if desired, :20 rest
2 x 100 on S.I. or :20 rest (Effort 8/10 steady pace or descend 1-2)
100 Cruise, Drill 1st 25 if desired, :20 rest or Masters Minute
1x 100 Strong! Can you push your fastest 100 of the day?
Cool Down:
5 - 10’ EZ w/ choice drills
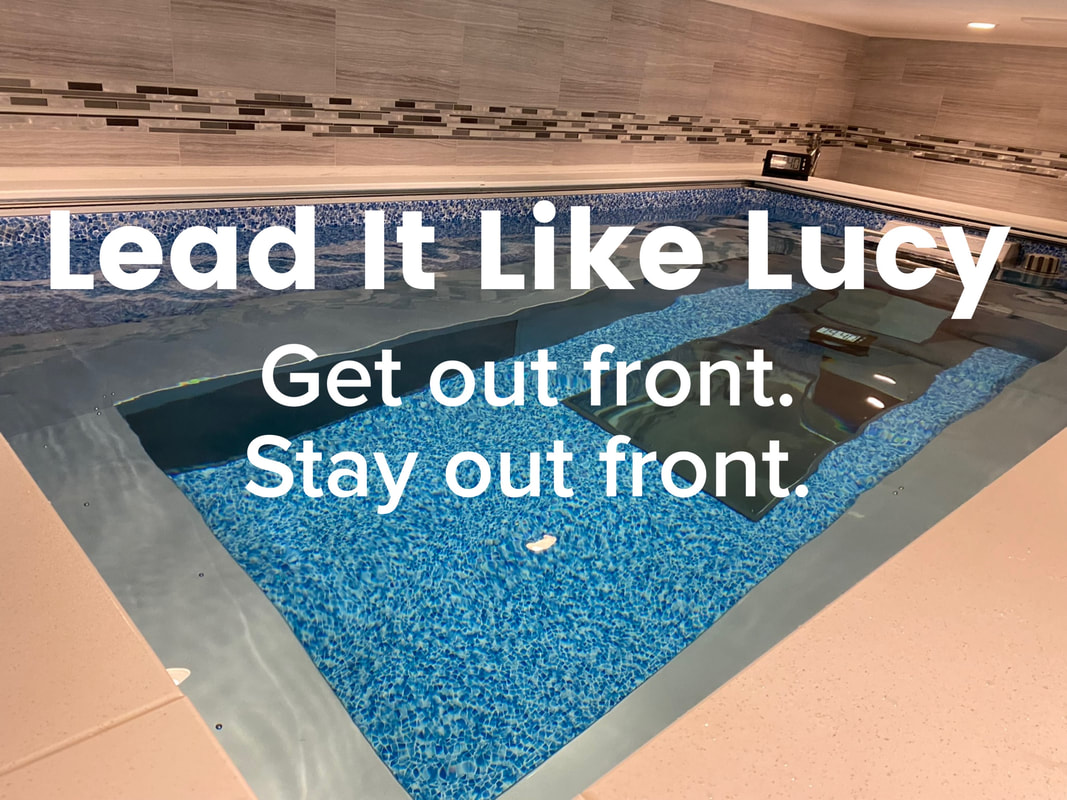
Lead It Like Lucy
Get Out Front. Stay Out Front.
Feel the get out speed and stay out strength of Lucy Charles-Barclay! LCB recently dominated the 2023 Ironman World Championship from cannon to tape, clinching the win and a new course record. She’s speedy, she’s strong, she’s not afraid to lead.
Subscribe to the Team Charles-Barclay YouTube channel for incredible content and inspiration!
We’re using swim tools for this main set, dipping into speed and strength work (fins, paddles, buoy).
Warm Up:
10’ - 20’ of choice drills & pre-set descend 50s prep.
Favorite Main Set: Lead It Like Lucy
Tools: Fins, Paddles, Buoy
2 x Thru
4 x 50 w/ fins only on S.I. or :20 rest
25 Get up and Go Speed aka full extension, fast turnover, fast kick
25 Cruise home w/ long but snappy perfect stroke
6 x 50 w/ paddles on #2-5, on S.I. or :20 rest
#1, #6 no paddles, swim smooth
#2, #5 paddles on both hands feeling power in the pull
#3 paddle on right hand, no paddle on left hand, find balance, compare/contrast strength
#4 paddle on left hand, no paddle on right hand, find balance, compare/contrast strength
4 x 100 w/ Buoy on S.I. or :20 rest
25 Get up and Go Speed aka fast turnover holding core stable thru rotation
75 Cruise it home with power up front and connected rotation, maintain turnover
Masters Minute
100 Speedy & Strong, what’s your time?
Cool Down:
5 - 10’ EZ w/ choice drills
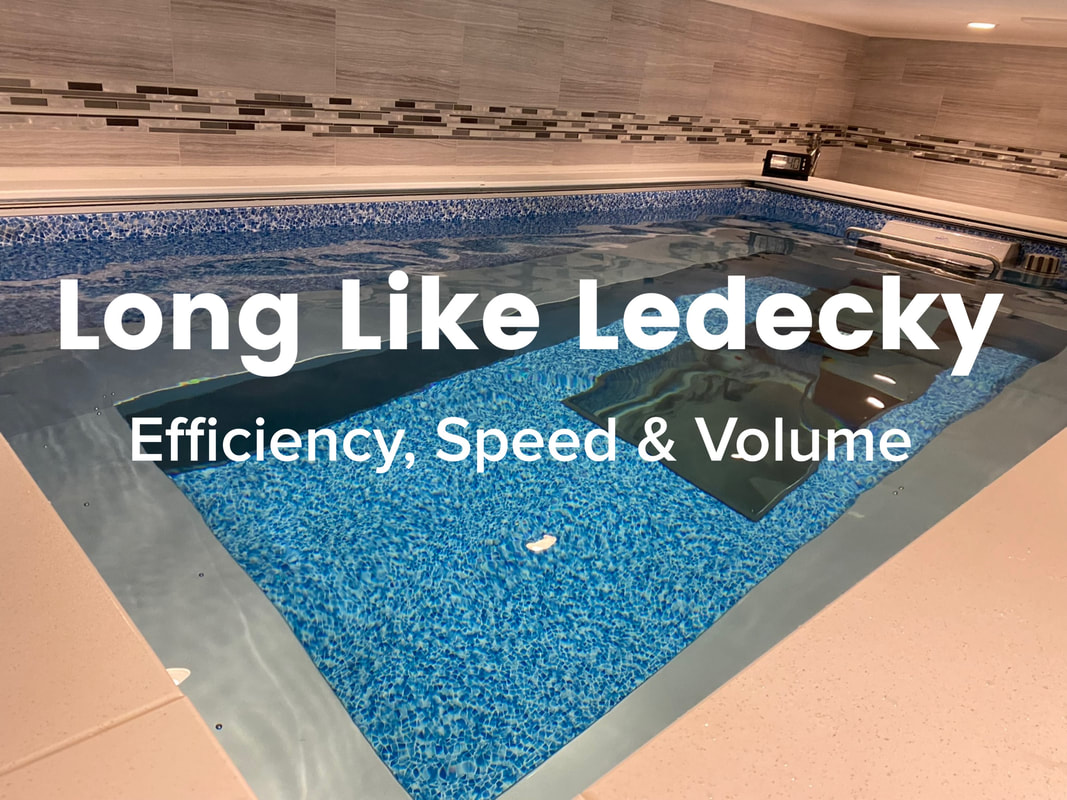
Long Like Ledecky
Efficiency, Speed & Volume
Channeling Katie Ledecky, The GOAT of women’s distance pool swimming. We’ll break up this main set with varying intensities and mini sets in blocks of 800s. Focus on an early vertical forearm for the early catch, find your clean aquatic line at every full extension and maintain a steady kick behind the bodyline for all work. Ya’ know, just like The GOAT!
Warm Up:
10’ of choice drills, focus on full extension, early vertical forearm and steady kicking.
Favorite Main Set: Long Like Ledecky
200 Negative Split on S.I. or :20 rest
2 x 100 Negative Split by 100s on S.I. or :20 rest
6 x 50 Alt. Strong / EZ on S.I. or :20 rest
4 x 25 FAST on S.I. or :20 -:30 rest
~~~
4x Thru
150 Steady & Strong on S.I. or :20 rest
50 EZ
~~~
2x Thru
2 x 100 Cruise on S.I. or :20 rest
200 Strong & Long!
Can you even split the 100s or negative split the 200? What is your total 200 time?
Cool Down:
5 - 10’ EZ w/ choice drills

Superhero Speed
Splash & Dash w/ Afterburner Bonus
This main set is a nod to the superheroes of the 50 Free and 100 Free.
It’s time to get serious with ALL OUT 25s and a healthy dose of active recovery.
Prepare for the ‘Afterburner Bonus’ using traditional / long bladed fins.
Warm Up:
10-15’ of focus on stable head position, full extension, core rotation and steady kicking.
Descend 4 x 50 w/ :20 rest between, focus on increased stroke rate each 50
Descend 4 x 25 w/ :15 rest between, focus on increased stroke rate each 25
Favorite Main Set: Superhero Speed
10 x 100 as 25 ALL OUT SPRINT into 75 active recovery, long perfect stroke and loads of air.
w/ :20 - :30 rest
Afterburner Bonus w/ fins
5 x 100 as 25 ALL OUT SPRINT into 75 active recovery, long perfect stroke and loads of air.
w/ :20 - :30 rest
Cool Down:
5 - 10’ EZ w/ choice drills
 RSS Feed